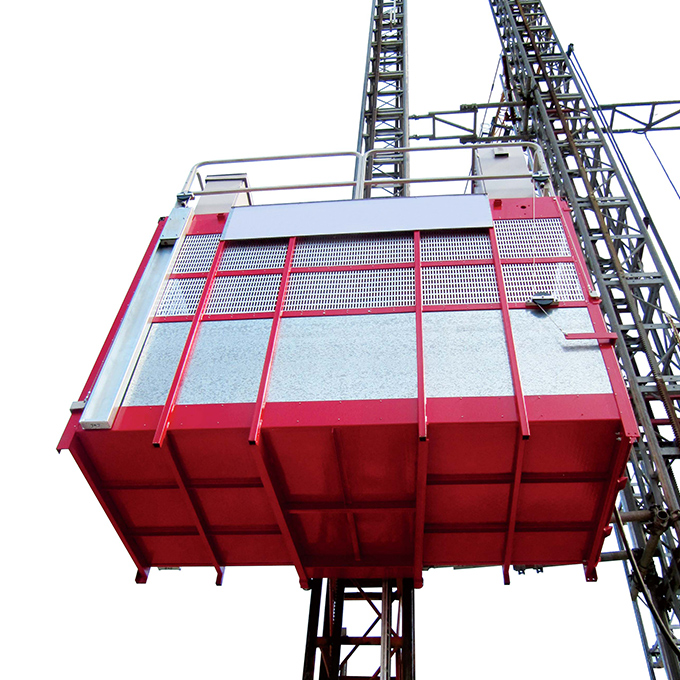
After the main body of the construction hoist is in place, the height of the guide rail frame is installed to 6 meters, and the power-on trial operation inspection should be carried out. First, confirm whether the power supply of the construction site is sufficient, the leakage protection switch in the construction site electrical box should be shock wave non-action type, and then check the motor rotation Whether the direction and start brake are normal, whether the phase error protection, emergency stop, limit, upper and lower limit, deceleration limit, and each door limit switch are normal. The installation of the elevator must be carried out in accordance with the “Elevator Installation” chapter of the manual. Each time an attached wall frame is installed, the verticality of the guide rail frame must be checked whether it meets the requirements.
The verticality can be measured by theodolite or other instruments or methods for verticality detection. After the heightening of the guide rail frame of the elevator is completed, the whole machine inspection and debugging shall be carried out immediately, and the contents of the debugging are as follows:
1. To debug the side rollers, the corresponding guide rollers on both sides of the column tube of the guide rail frame must be adjusted in pairs. The eccentricity of the rotating rollers makes the gap between the side rollers and the column tube of the guide rail frame about 0.5mm. After proper adjustment, tighten the connecting bolts with a torque of not less than 20kg.m.
2. For the adjustment of the upper and lower rollers, a screwdriver can be installed between the guide rail frame and the safety hook to make the upper roller separate from the track and adjust the eccentricity to make the clearance proper. Use the method of raising the outside of the cage to make the lower rollers separate from the track for adjustment. After adjustment, tighten the bolts with a torque of not less than 25kg.m. The upper and lower rollers should be evenly stressed to ensure that the reduction gear and safety gear on the drive plate mesh with the rack and the tooth length direction is not less than 50%.
3. Debugging of the back wheel Insert a large screwdriver between the safety hook plate behind the drive plate and the rack back to separate the back wheel from the rack back. Turn the back wheel eccentric sleeve to adjust the gap, so that the drive gear and the rack mesh side The gap is 0.4-0.6mm, the meshing contact surface is not less than 40% along the tooth height, and the contact surface is evenly distributed on both sides of the pitch circle and should be centered in the tooth length direction.
4. Is the gap between gears and racks adjusted to check the gaps between all gears and racks with lead pressing? The gap is required to be 0.2-0.5mm. Otherwise, wedge irons should be used to adjust the position of the large and small plates to adjust the coincidence of gears and racks. Clearance, and then fix all the large and small bolts.
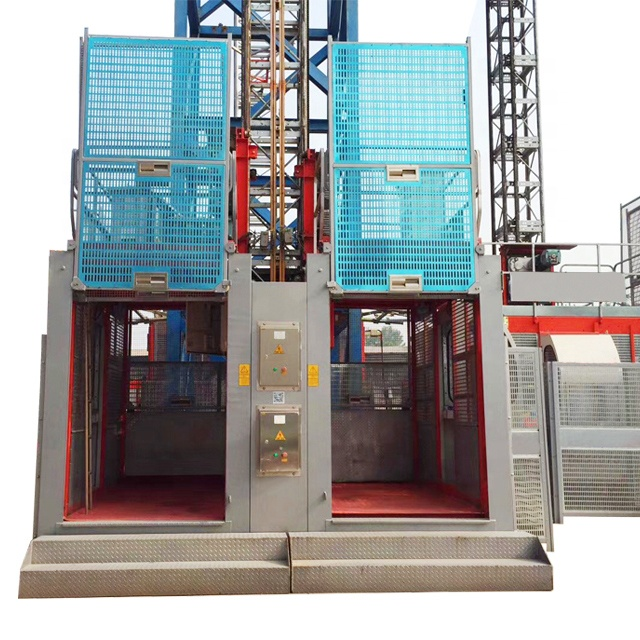
5. Debugging of the cable trolley Place the cable trolley on the ground, adjust the guide wheels of the cable trolley, and require the gap between each pulley and the corresponding track to be 0.5mm, and try to pull the cable trolley by hand to ensure flexible operation and no jamming.
Post time: Mar-07-2022